If you have a fancy espresso machine that does it all for you, this blog post is not for you. This is for the person who craves a reasonably latte-like experience without having to hop out to see their local barista for every cup but doesn’t have the fancy equipment.
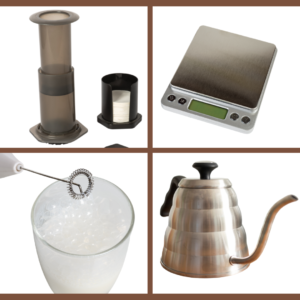
The four equipment essentials you need to make a “latte” at home:

- An Aeropress. This inexpensive little gem brews up smooth, strong coffee (if you do it right) with no electricity needed. There’s a trick to getting your coffee strong enough to approximate an espresso drink, though.
- Some kind of milk steamer/frother. It can be as simple as a frothing wand. It won’t give you quite the velvety foam that a steam wand on an espresso machine can achieve, but it’s darn good.
- A kitchen scale. You really need this. If you don’t already have one, we bet you’ll find you wind up using it for many other things – like baking, which is always better with weights than volume measurements.
- Something to boil your water in.
That’s it. Really. Now, let’s get to it!
- Assemble the two main pieces of your Aeropress (without the filter assembly) and put it on the scale upside down. That is, sitting on the plunger side, with enough room to add coffee and water into the chamber.
- Zero out your scale and measure 18 grams of finely ground coffee into the Aeropress. It has to be a dark roast to even roughly approximate espresso so we recommend Boyd’s French No. 6 or Red Wagon.
- Keep the Aeropress right where it is. Zero out the scale. Add 90 grams of water and give the grounds a little stir to ensure good contact with the water.
- Screw the filter assembly on.
- Let this steep for 90 seconds. Seems long for espress…but this isn’t truly espresso with a super fine grind and a ton of pressure. We need the time for the flavors to develop.
- After 90 second, put your cup over the filter assembly of the Aeropress and flip the whole thing over. Give it a few seconds to settle. Then gently push that plunger to drive all the water through the coffee. All the way till you hear the hiss at the end.
- Froth your milk and add as much as you like. We’re not going to both with specific amounts here. Let coffee freedom and your taste be your guide.
Now for the Milks

We won’t judge whatever type of milk you want to use, be it for dietary or environmental reasons. Here’s how they work or don’t in our view.
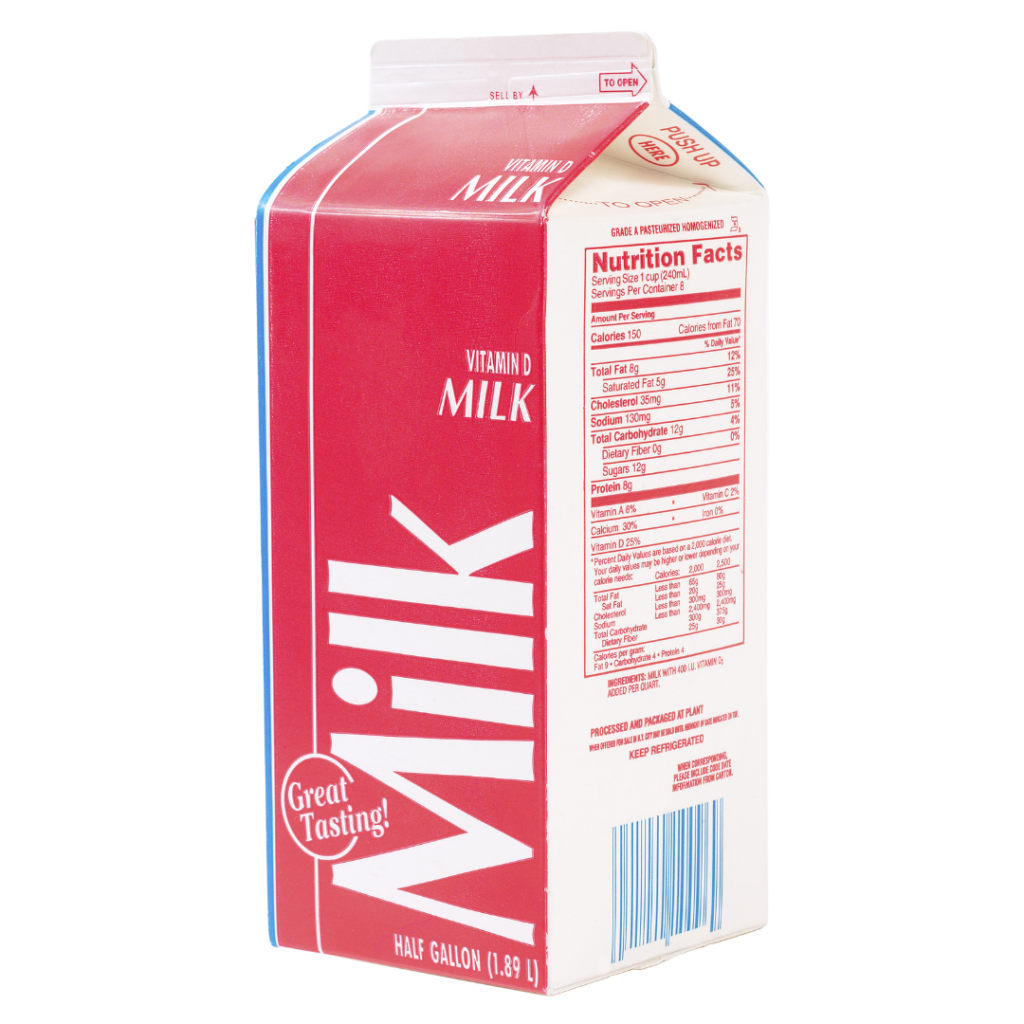
Whole Dairy Milk: It’s sugar, fat, water and protein make it ideal for frothing. To achieve the great texture sometimes takes a little longer because the fat is a littler heavier.
2% Dairy Milk: Like whole milk, but froths more quickly. It’s a great alternative if you’re looking to reduce your fat intake.
Dairy Skim Milk: No fat means skim milk froths more quickly and with larger bubbles. This foam is quite stable and the bubbles don’t break down quickly.
With all the plant-based milks, choose a “barista blend” version if possible. They’re more likely to produce a better froth for your latte.
Oat Milk: Oat milk makes the best foam of the single source plant-based milks. Its foam is rich, sweet, and creamy. Quality differs by brand. You may have to experiment.
Almond Milk: To achieve a good froth with almond milk, bring it to room temperature first. It has a higher fat content than other plant-based options so it’s nice and creamy in the cup.

Soy Milk: Soy milk probably comes closest to frothed dairy milk. It’s creamy, pillowy, and stable.
Coconut Milk: The carton kind not the canned kind. Coconut milk is high in fat and that gives you a nice froth.
Hemp Milk: Very difficult to froth and it has a tendency to curdle if added cold to hot coffee. If you love hemp milk, be sure to warm it up a bit.
Low Frothers – Be Forewarned. All of these milks are a bit too low fat or watery or in some other way lack the qualities necessary to produce a nice, delicious froth for your latte.
Rice Milk: Skip it. Too low fat to produce a decent froth..
Macadamia Milk: Thin and its flavor it bitter when blended with coffee. Nope.
Cashew Milk: No bubbles. We want to love it for our latte but we can’t.


